
Welcome to TypeFix. Typed in the wrong language by mistake? One click and the text is fixed instantly. Installation takes under a minute — let's walk through it together.
Read it here on the page, or grab a printable PDF in your language.
The first time you open TypeFix, macOS shows a quick confirmation that it was downloaded from the internet — and notes that Apple checked it for malicious software and none was detected. Just click Open — that's it, and you won't be asked again.
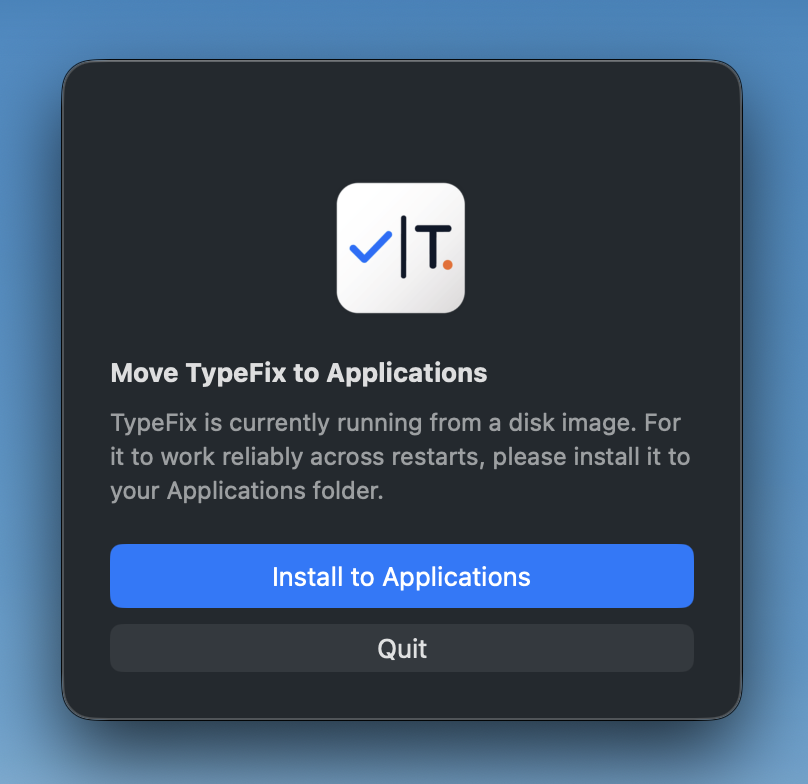
Once it opens, drag TypeFix into your Applications folder. If you opened it straight from the DMG, it will offer to install itself — click Install to Applications.
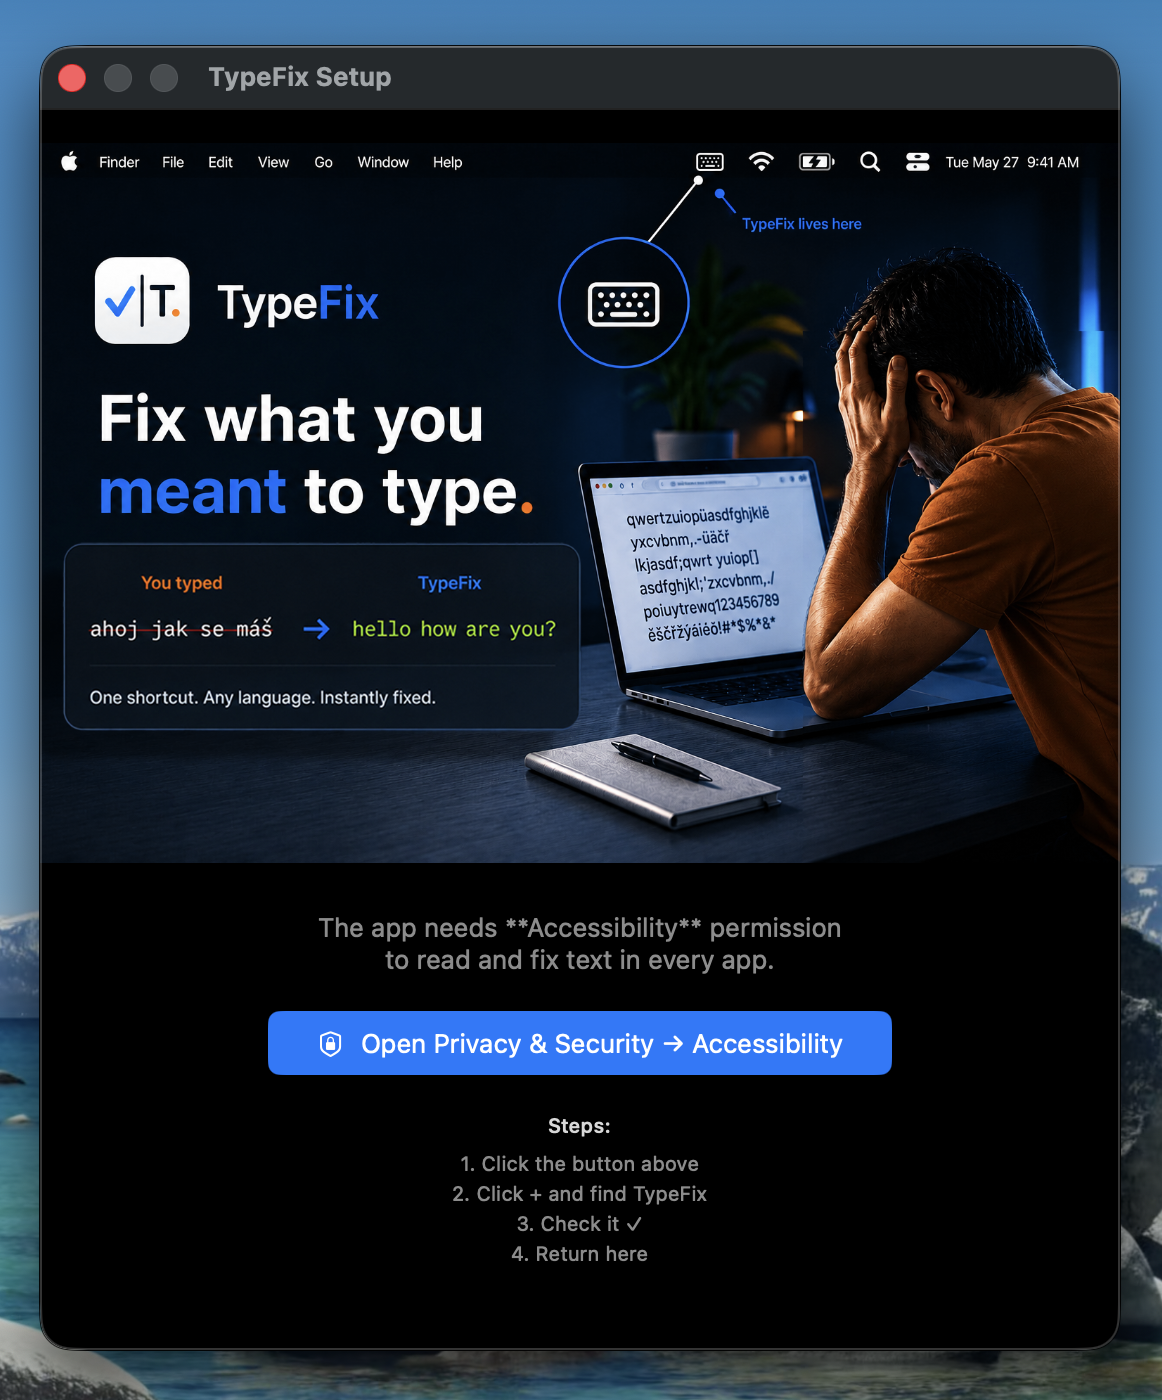
TypeFix needs one Accessibility permission, so it can read the text you typed and replace it with the corrected version. Without it, the app simply can't see or fix your text. The app guides you — click Open Privacy & Security → Accessibility.
TypeFix does not collect, store, or send anything you type. The permission is used only locally, on your Mac, and only the moment you trigger the shortcut — never at any other time.
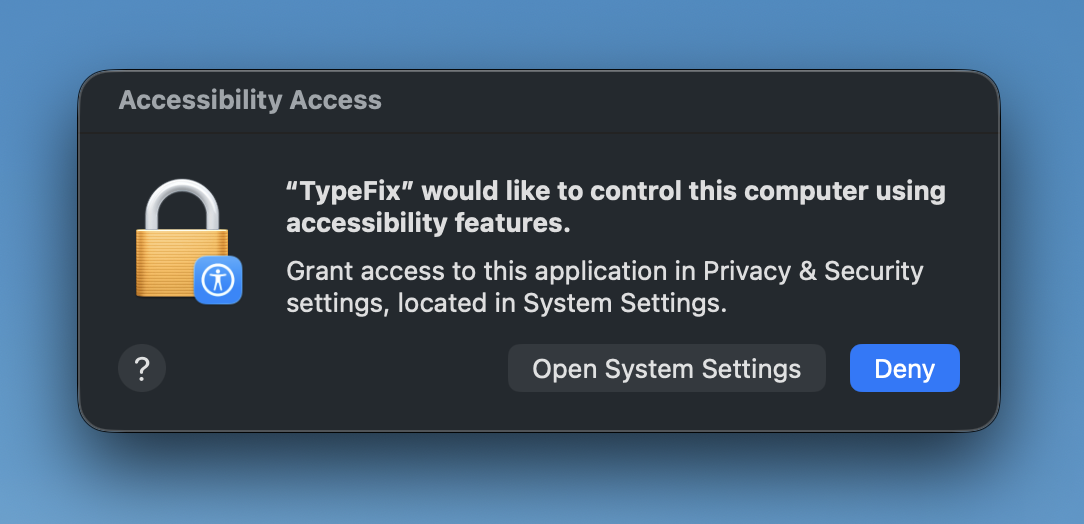
A system dialog will ask to allow TypeFix to control your computer using accessibility features. Click Open System Settings.
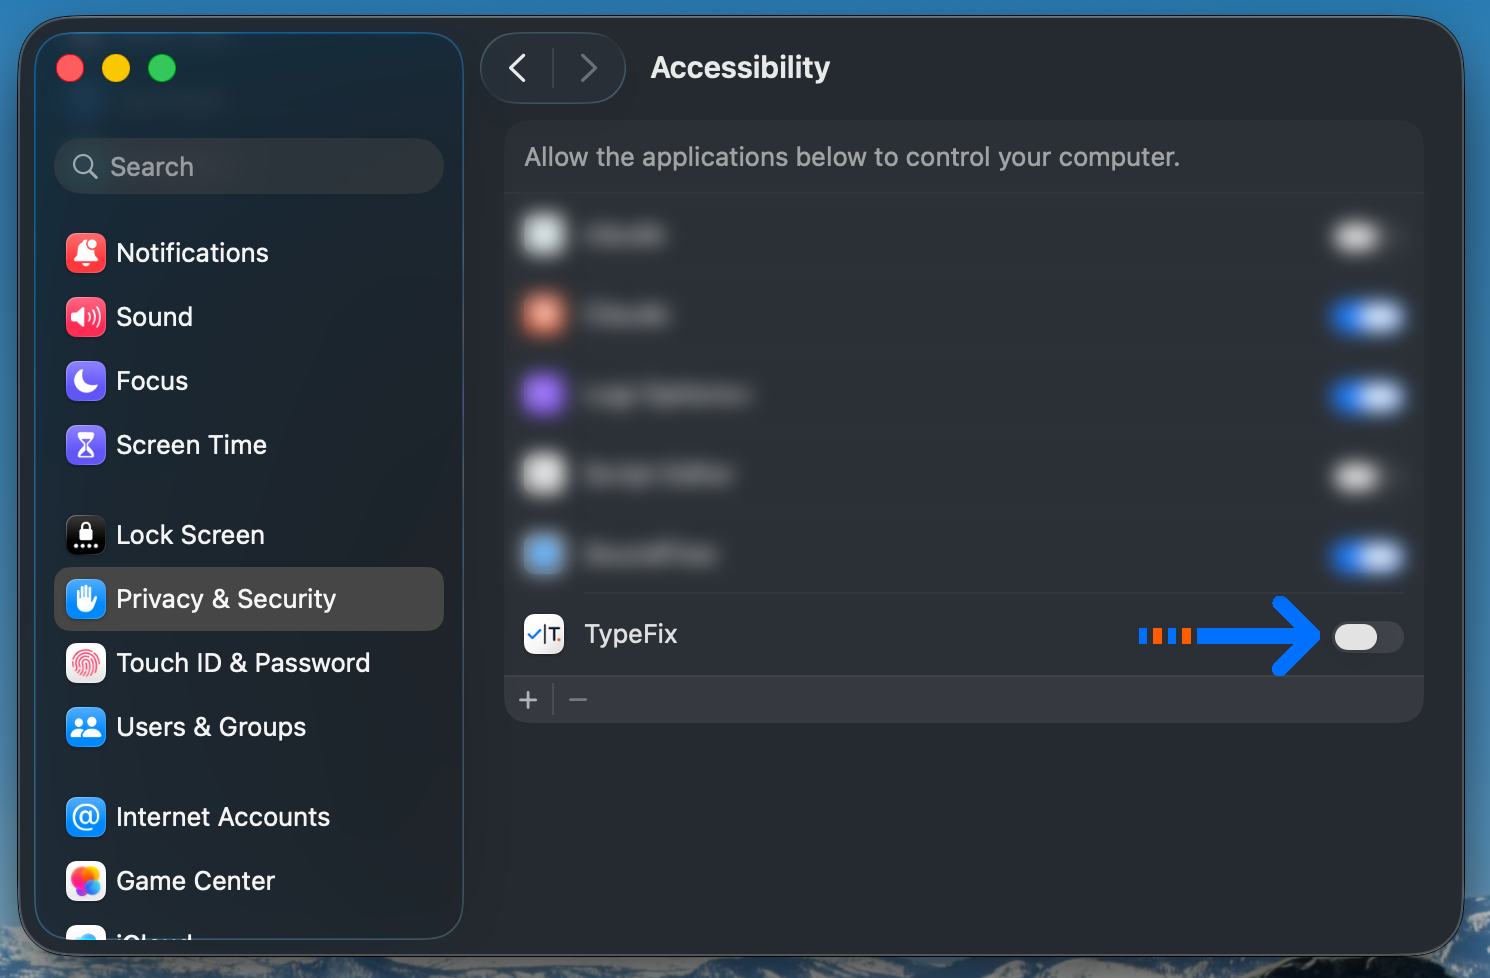
In Privacy & Security → Accessibility, find TypeFix in the list and turn on its switch.
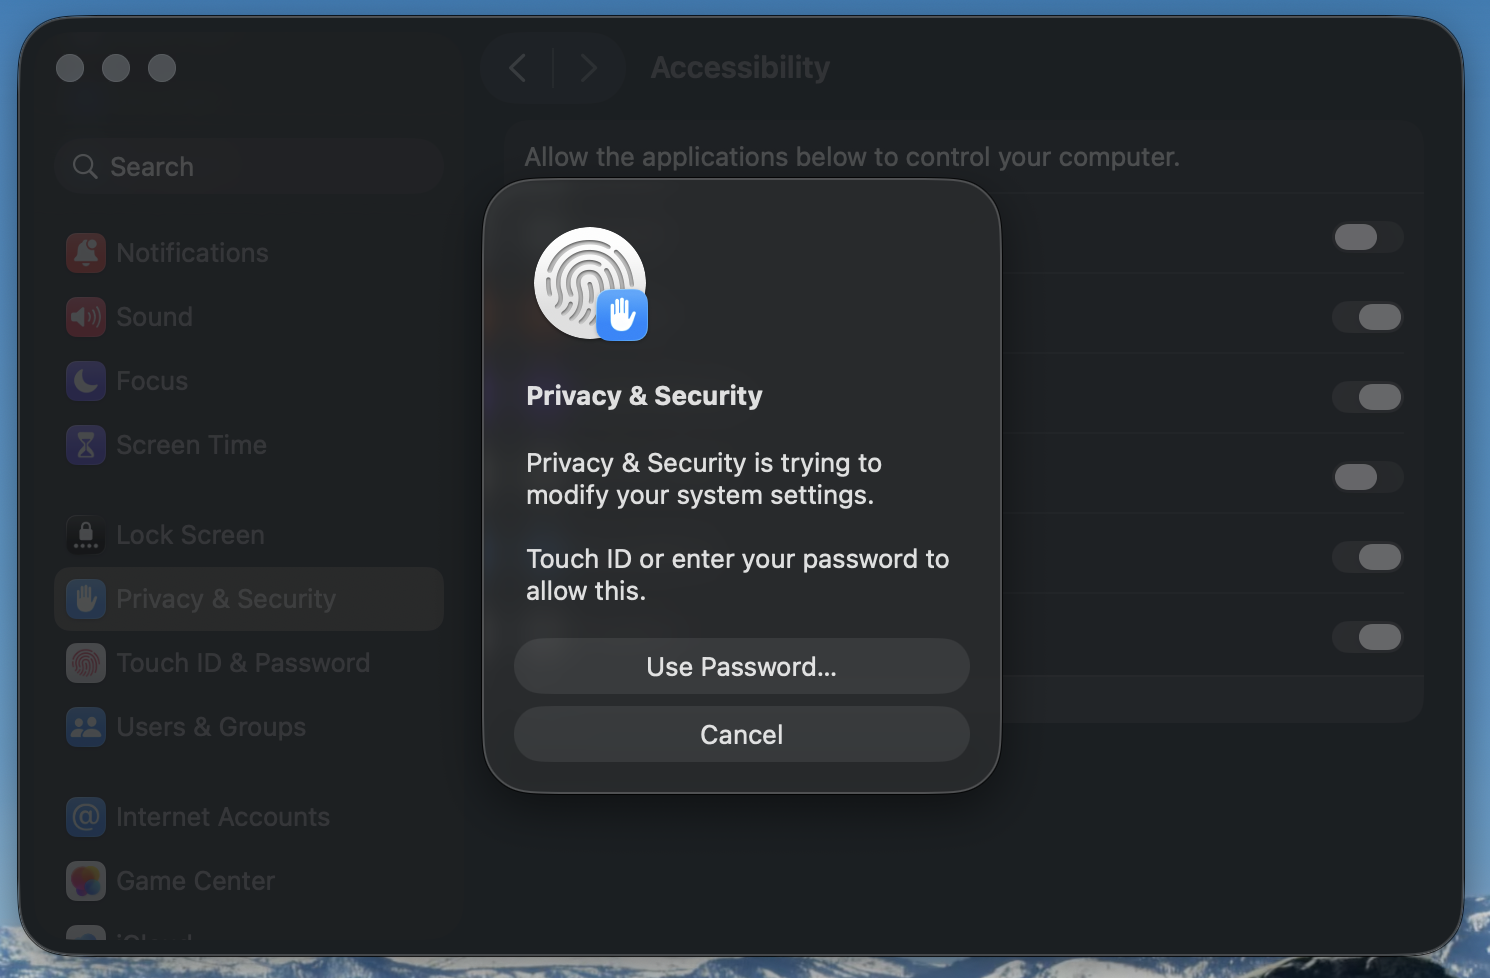
macOS will ask you to confirm with Touch ID or your password to apply the change. Confirm — and that's it.
Typed in the wrong language? Select the text (or just leave the cursor in the field) and press the shortcut — TypeFix detects and fixes it instantly.